How do you use your very own reverbs that no one can replicate? “In this day and age” when everyone is using the same Waves and Universal audio plugins how do you stand out from the crowd? Just record your own impulse responses!
Impulsive re…what now?
Impulse response, yup. IR for short. This is a way to get the sonic signature of a place, be it a bathroom, parking garage, Abbey Road studios or wherever Vienna Philharmonic peeps perform their NY concert. Once you “fingerprint” the space, then you can apply its IR to any new recordings at a later time.
BTW, an impulse response is a regular audio file (.wav) so you can play it in your DAW or any music player.
Capturing the IR
Ideally you want to capture how the space affects all the frequencies. With a stereo pair of the most expensive and clean (uncolored) microphones you can lay your hands on. This means setting up speakers and “shooting” a test signal that goes through all frequencies. See how in all the detail here.
The poor man’s way
Well, I was traveling and the AirBnB we were staying at had an unfurnished basement. I though I’d record an impulse response and take this virtual basement as a token of the good times that were had on the trip. I mean look at that view!

Anyway, this is a panorama image of a part of the basement:
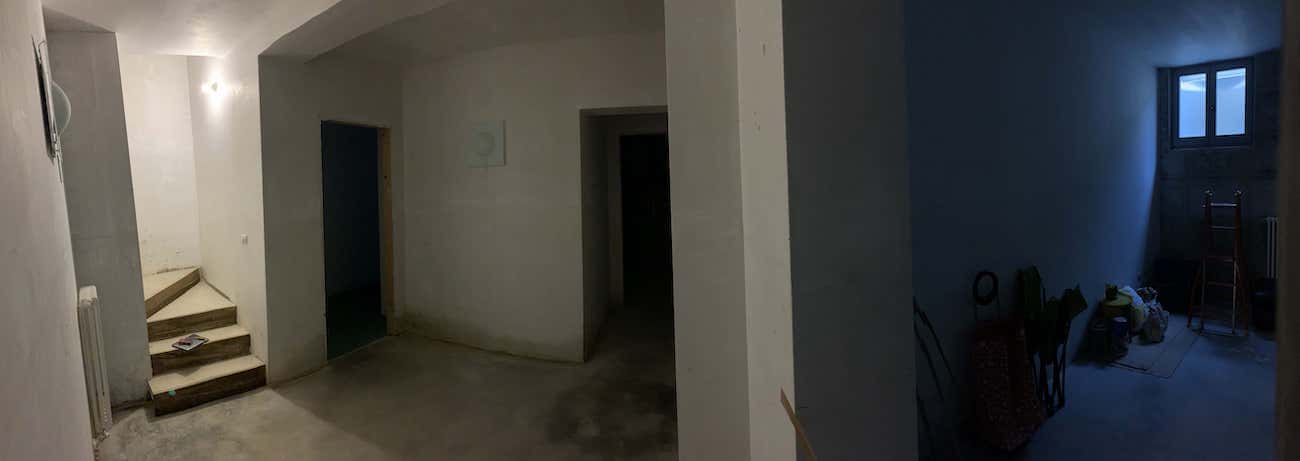
Nice. But I don’t have decent speakers, microphones (or time away from partying) to shoot test signals in complete silence. So corners were cut. What I had is a laptop, so I can use its internal mic. (Alternatively you can just record using your phone)
For a test signal, a replacement is usually popping a balloon or shooting a gun, if it’s safe. If no balloon or gun around? Well, condoms are available everywhere. (And if you’re not inclined to misuse condoms in this way, you can always clap your hands and there’s your test signal.)
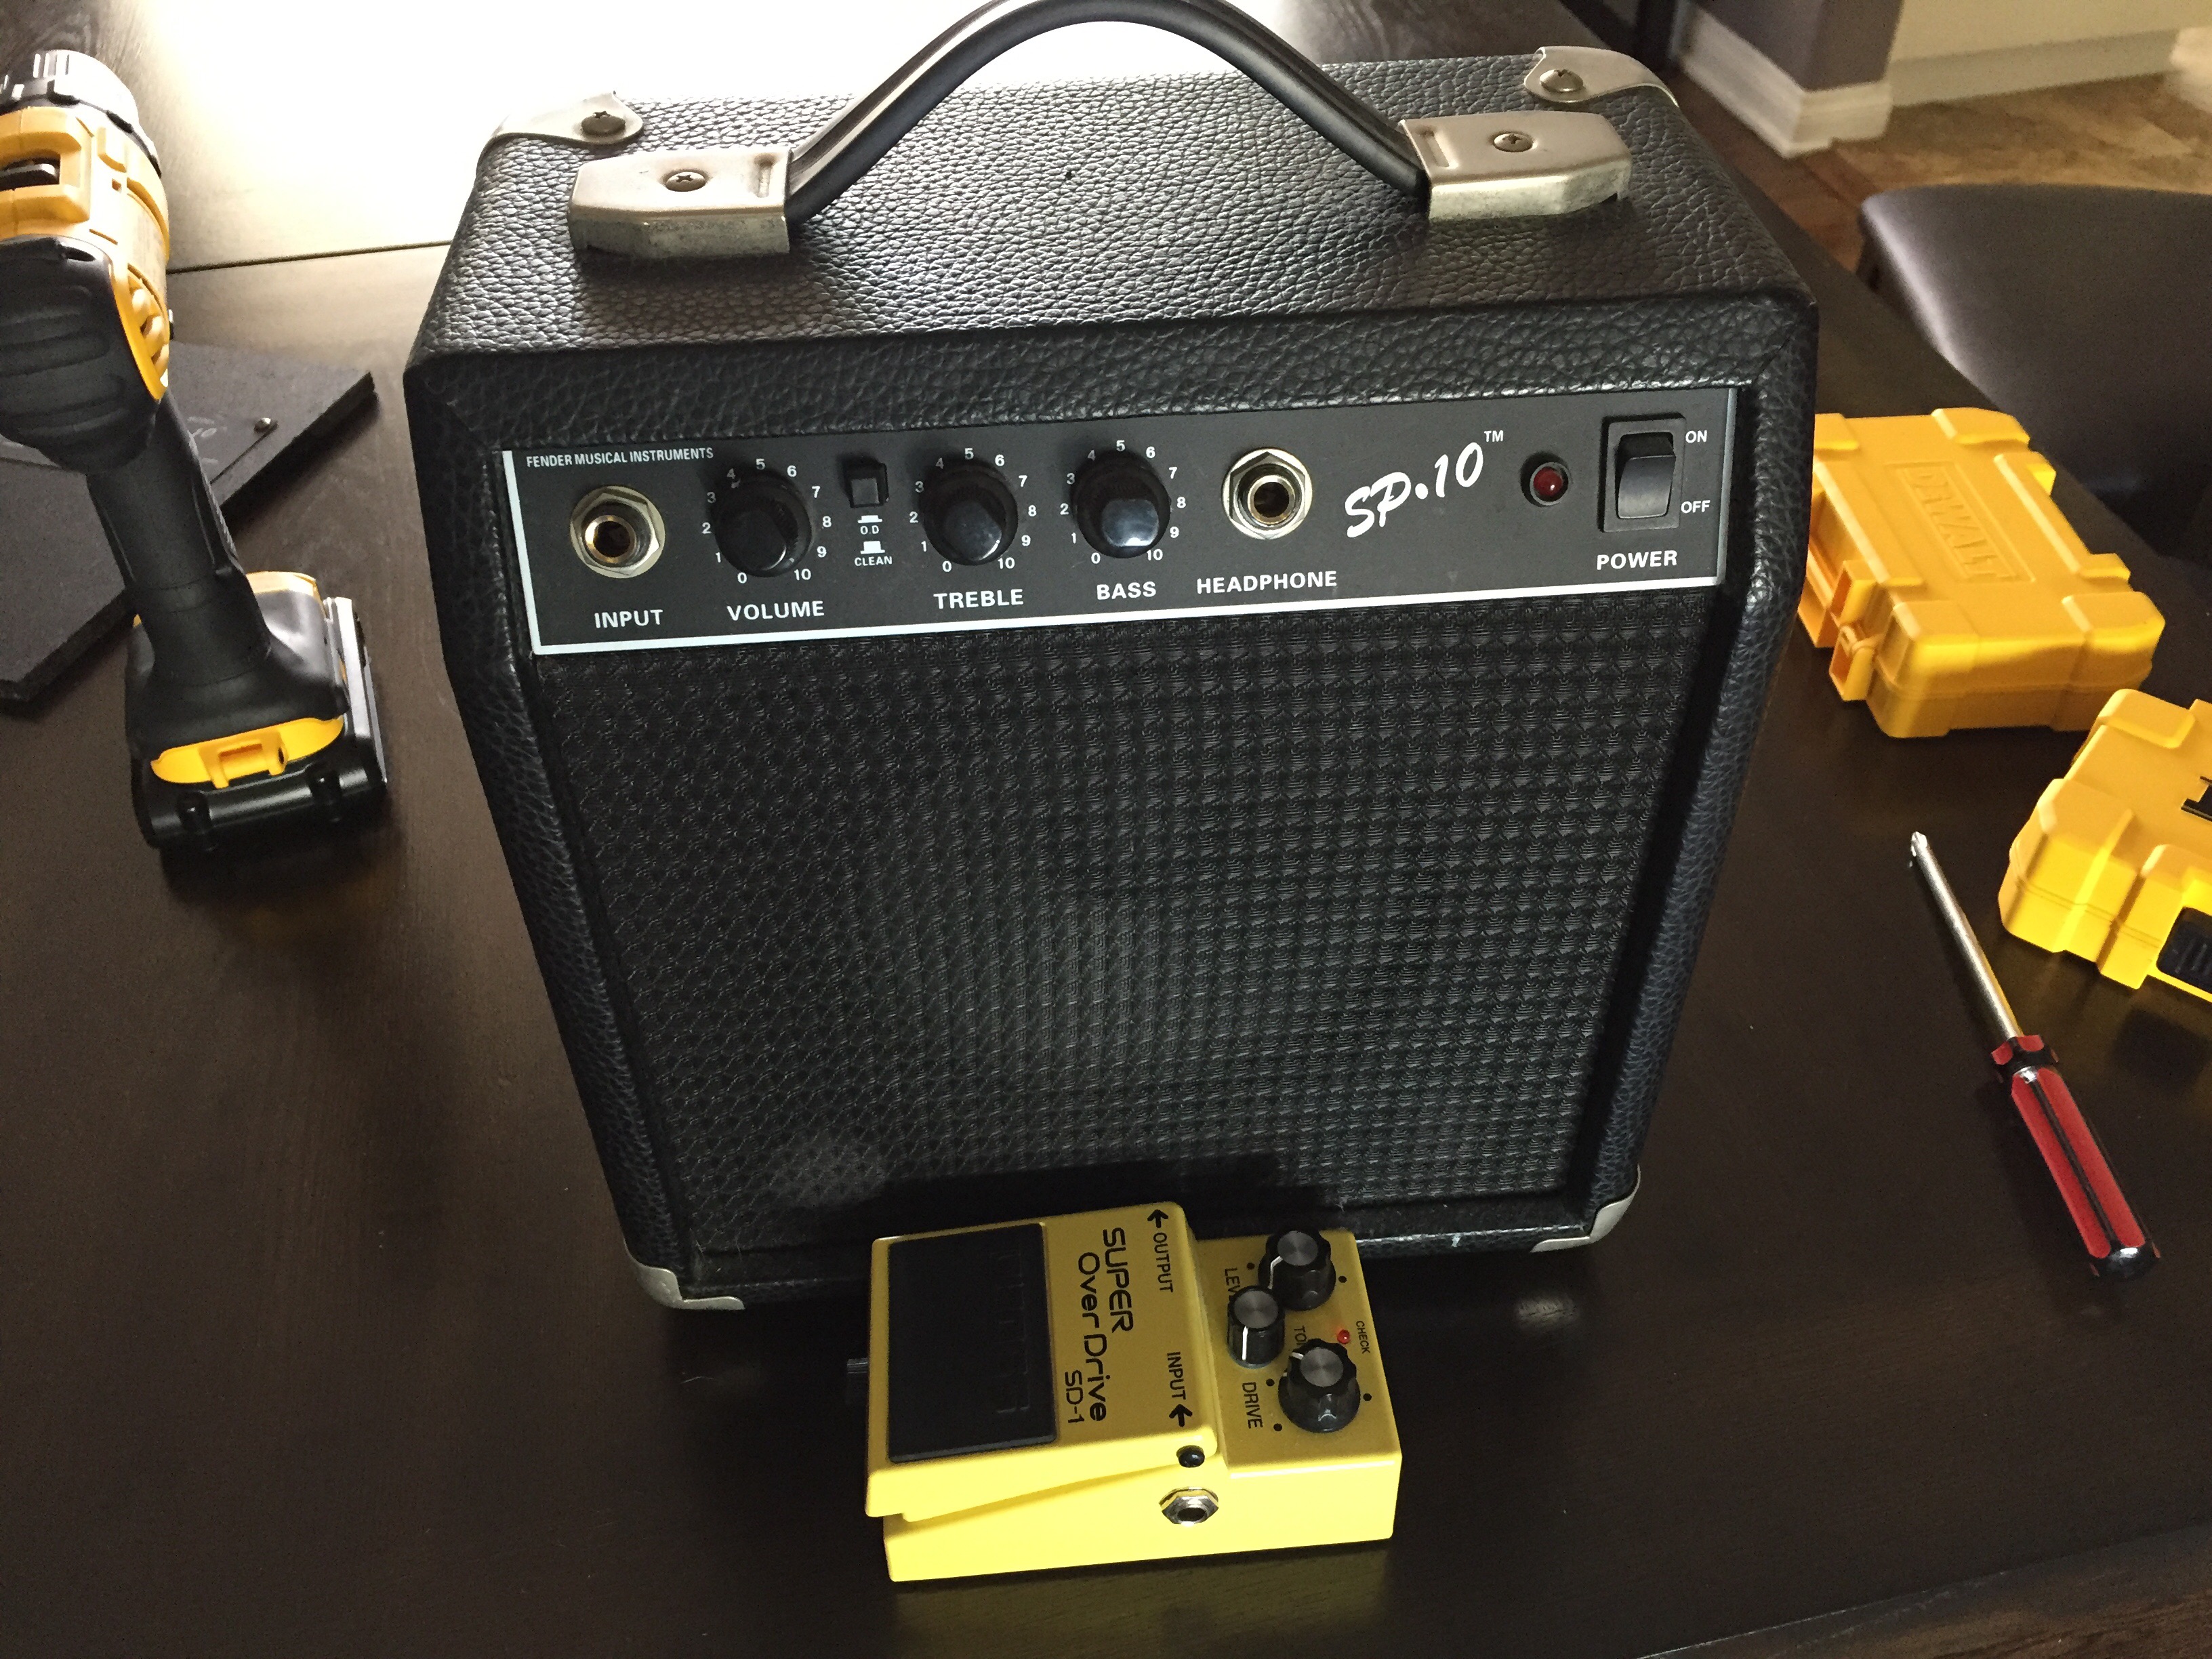
And so, here’s photo of all the tools I had at my disposal:

The first condom popped prematurely while I was inflating it overexcitedly. But soon enough I had it all: a new Reaper session with one track set to record and a coupla condoms.

Pop! Pop! Clap! Clap! Done!
Preparing the Impulse Response
- Slice the part of the wave that is the actual pop and throw away the rest.
- Export/render as a .wav file
- End up with something like this (yup, this is my actual IR file from that basement)
Using the Impulse Response
(I’m using Reaper here. You figure it out for your DAW of choice.)
Reverb is usually a subtle affair. If you hear it, it’s probably too much. Usually the reverb is a separate track (bus) and you send other audio to it. Benefits: less processing and single space for all instruments.
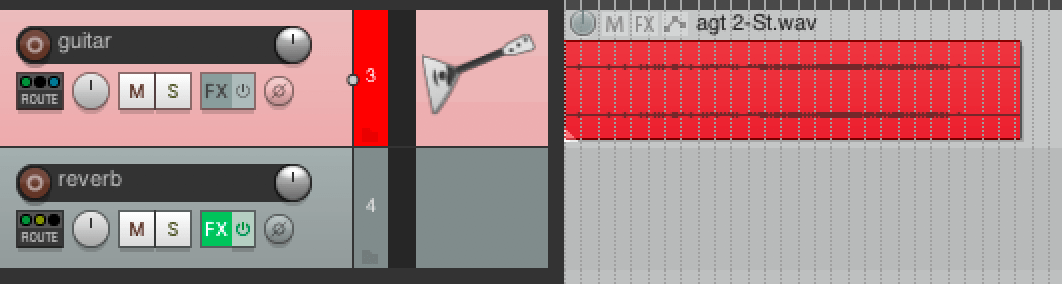
Here I have a guitar track and a reverb track.
The FX on the “reverb” track is where we load the IR file. In other DAW it may be “plugin insert” or some such. The plugin you want is ReaVerb, add it. Then in the “Impulse response generation” section click Add, then choose File and point to your WAV file.

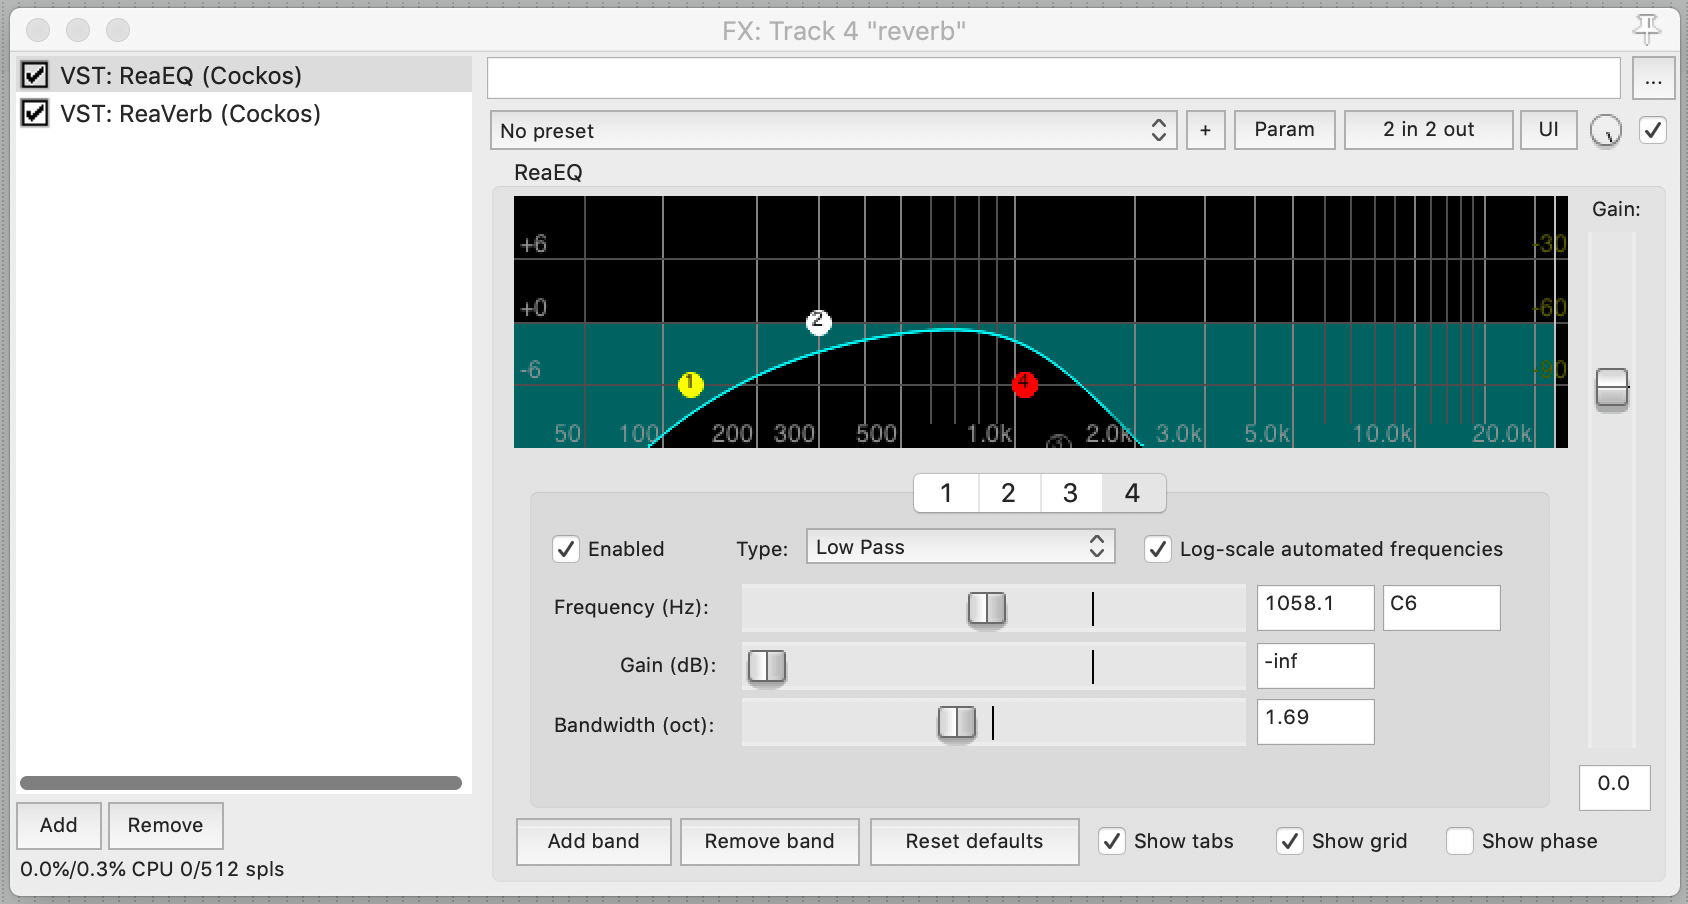
A common trick it to cut the highs (low pass filter) and lows (high pass) from a reverb “send”, so that’s what I did too, I added a ReaEQ plugin before the ReaVerb. Adjust these frequencies to your liking:
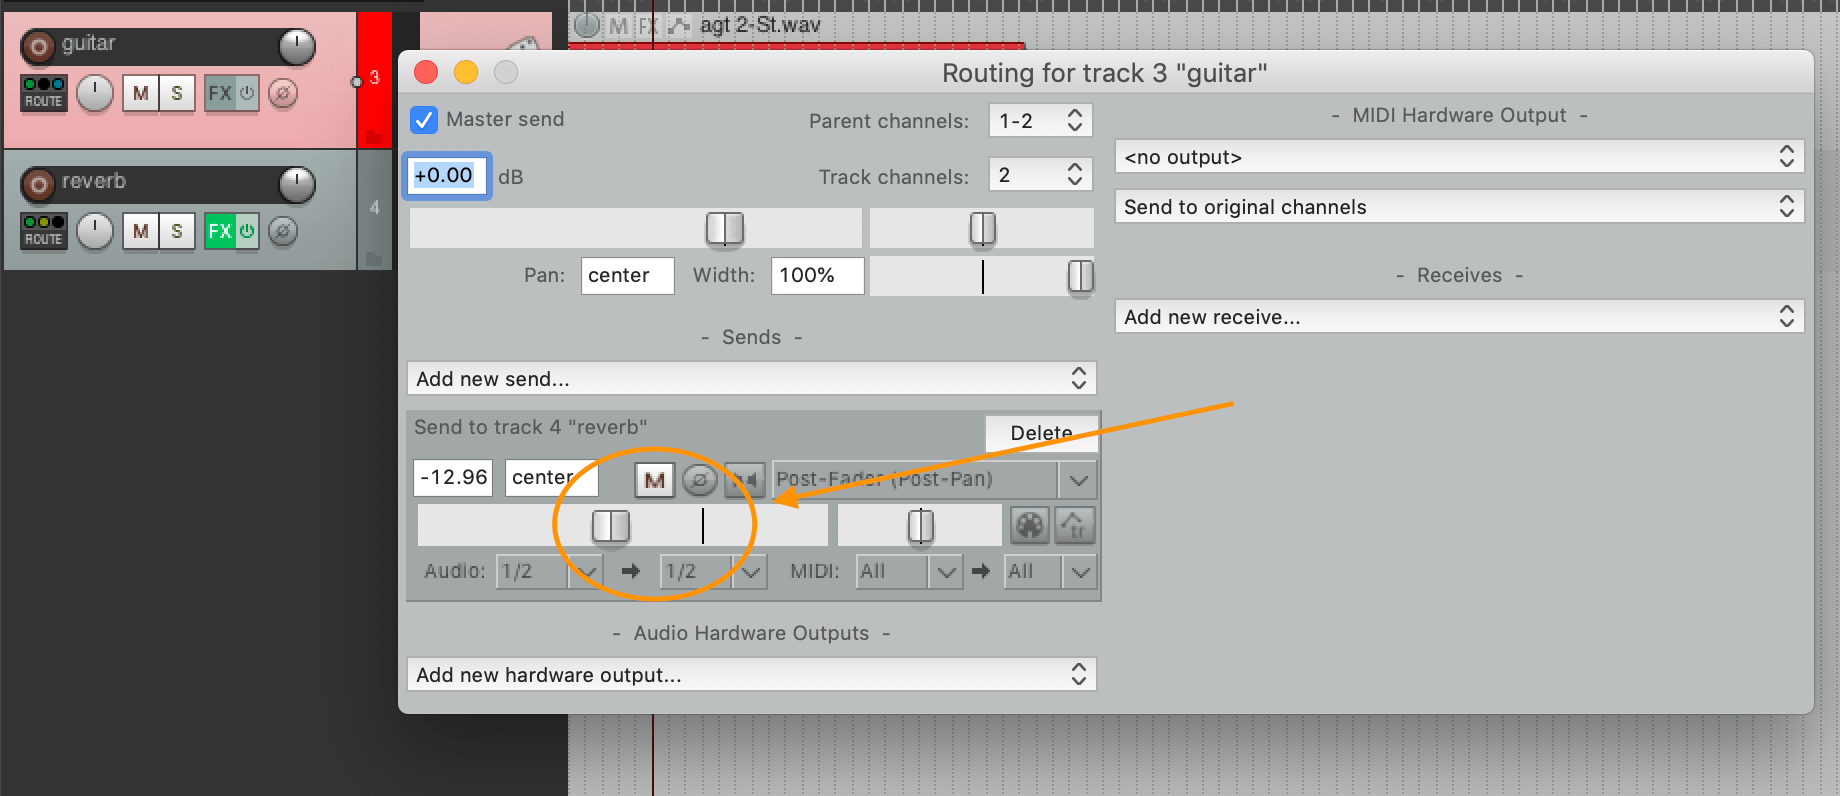
Now all you need to do is send (route) the guitar track audio to the reverb track. This way you hear both the original and the “echo”.
To do this you drag the “route” icon of the guitar track (the cursor turns to a plug) and drop it anywhere on the reverb track.
Then at any time you can adjust the amount you send from the guitar to the reverb. You also mute the send for a quick before/after. Remember, it’s a subtle affair, reverb is.
End result
Before:
After:
Closing comments
- Yes, I said it’s a subtle affair, but I overdid the effect for demonstration purposes
- How expensive was the setup? Provided you have a recording device and can make a clappy, poppy noise, the budget is actually 0. Of course you can do much better with better equipment and silence to record a test tone. Again, read here how.
- Will I use this on a song with a single solo track like this? Probably not. But if used more subtly in the mix you can get a certain je ne sais quoi that no one can replicate. And when you win that Grammy and everyone (and their uncle-in-law) wants to replicate your verb, they’ll have to come ask your majesty.
So off to your bathroom or stairwell or parking lot and start popping! And thanks for reading!